Rain Garden How To
This fall, Kate, one of the Runoff Busters yard makeover winners, had a rain garden installed on her property. A rain garden looks just like a regular landscaped bed, but it has the benefits of absorbing runoff and preventing drainage issues. Here’s how you can do it yourself!
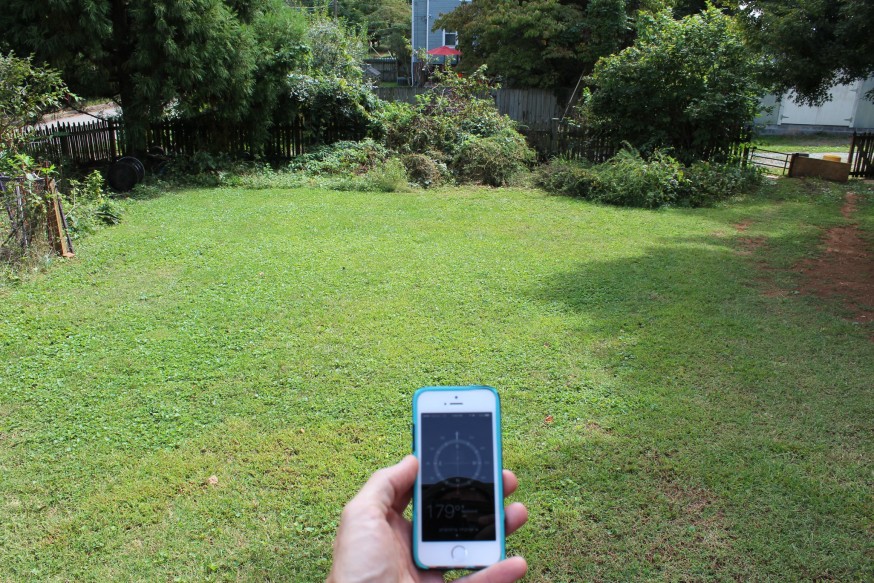
A “before” picture of Kate’s backyard.
Most importantly call Miss Utility to make sure your garden is not on top of any power lines. After you’ve done that, you can conduct an easy soil infiltration test to figure out how permeable your soil is, then select where you’re going to put the rain garden. An ideal site is on even footing at least 10 feet from the foundation of your home. In Kate’s yard, we installed the rain garden at the base of the slope, and it will capture about 1,770 ft2 of runoff. To estimate how much runoff your home produces and what size your rain garden should be, you can use this handy calculator.
Outline the shape of the rain garden (you can use whatever’s handy, we used a hose). The shape looks like a kidney bean, which directs the water into the garden and allows it to filter a wide sheet flow. An easy way to remember the shape is that rain gardens filter out pollutants for our bodies of water just like your kidneys filter toxins in your body.
Dig in! Your rain garden depth will be between 18”-36” deep, with 6” ponding area. (However, your rain garden is not a pond- it’s more like a bowl to contain runoff as it infiltrates).
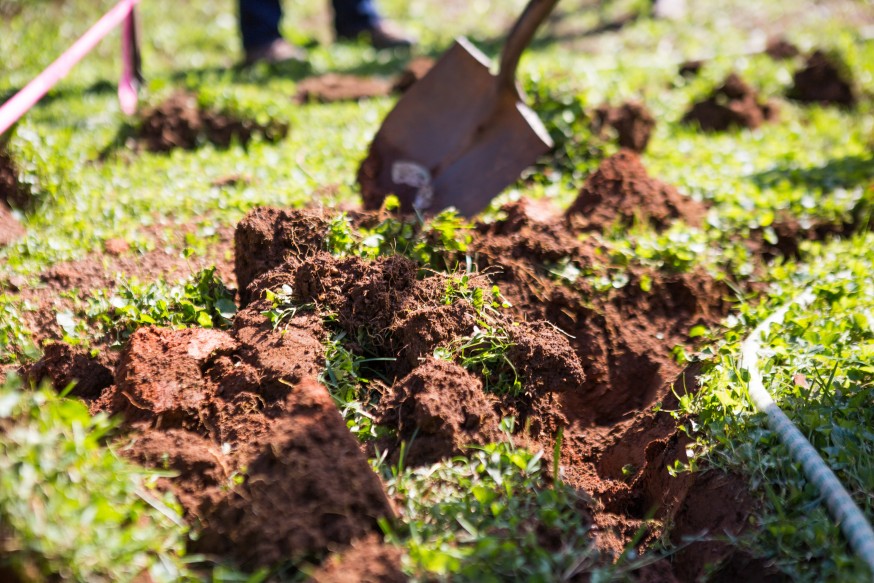
Removing the heavy clay soil, which limits stormwater infiltration.
The soil you remove can be used to build the berm, a raised area along the downhill side of the garden that keeps water in the rain garden. Fill in the rain garden with amended soil that will better absorb runoff. We used soil mix and mulch generously donated by Luck Ecosystems. To create your own soil mix, use half sand, and half an even mixture of topsoil and compost. The garden will need anywhere between 12-30 inches of amended soil.
The Alliance for the Chesapeake Bay has templates for planting a rain garden, which is a great starting point for selecting and placing plants. Feel free to get creative with the design based on the unique quirks of your yard. For example, we swapped out the tree in the lower right corner for a native winterberry bush, since Kate’s yard already had a large tree nearby. We visited Brent & Becky’s Bulbs and Colesville Nursery for our native plants.
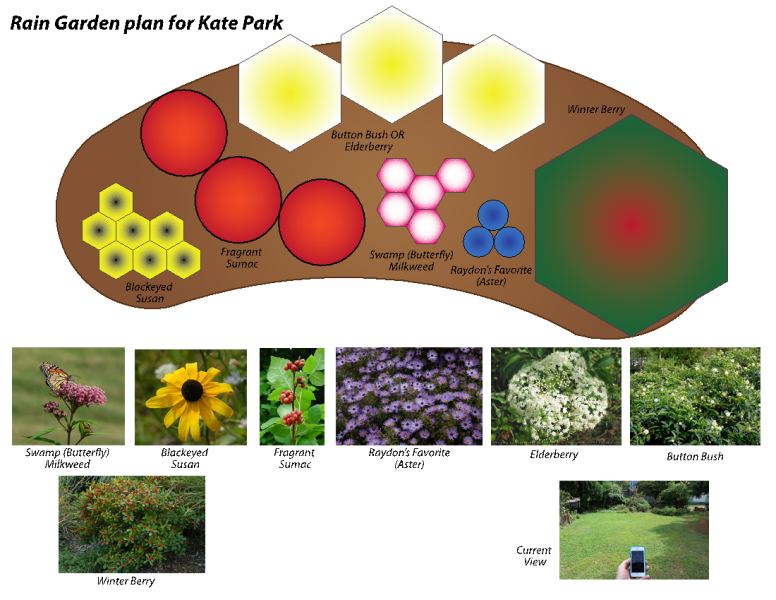
Our design was based on the 90 sq. ft. “Typical Kidney BayScape” template.
Now that you’re ready to plant, arrange the plants while still in their pots. Begin planting them in the middle, and work outward towards the edge of the garden. Last but not least, cover the garden with a layer of mulch.
A rain garden is an investment, but is not more expensive than a typical landscaped bed. The Alliance for the Chesapeake Bay has programs that help residents install stormwater management practices such as rain gardens at no cost. Many localities with a stormwater utility fee also offer financial incentives to install a rain garden.
Check out these videos to see Kate’s final rain garden and the Runoff Busters team in action!